Limiting your battery charge (usually to 80%) is excellent for extending the total lifespan of your laptop’s battery, especially if you leave it plugged in at a desk for long periods.
There are two primary ways to do this on a Dell Inspiron: via Windows Software (easiest) or via BIOS (most reliable, OS-independent).
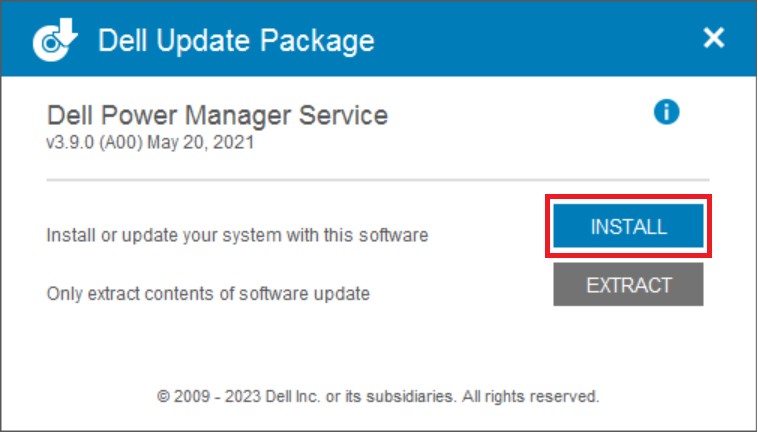
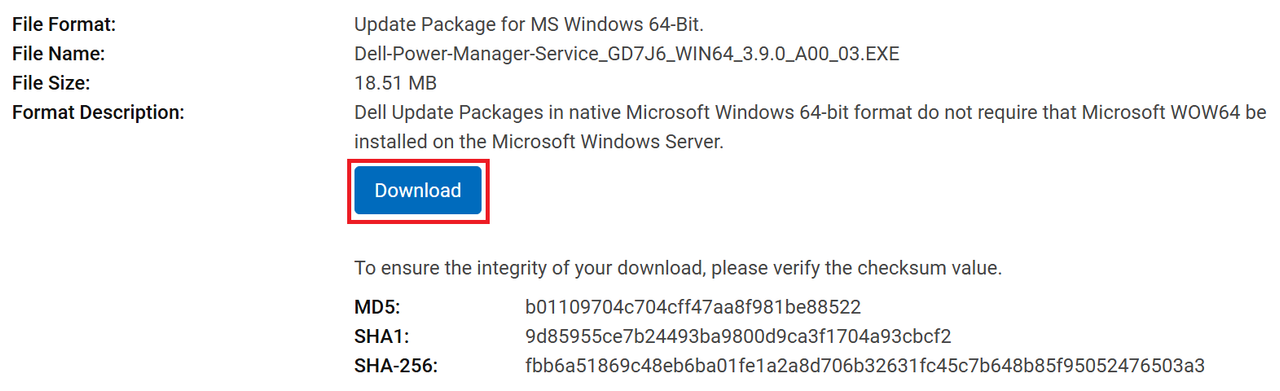
1.You could download & install here. Then, open the Dell Power Manager app.

Click the Settings button (often looks like a gear icon).
Select Custom.
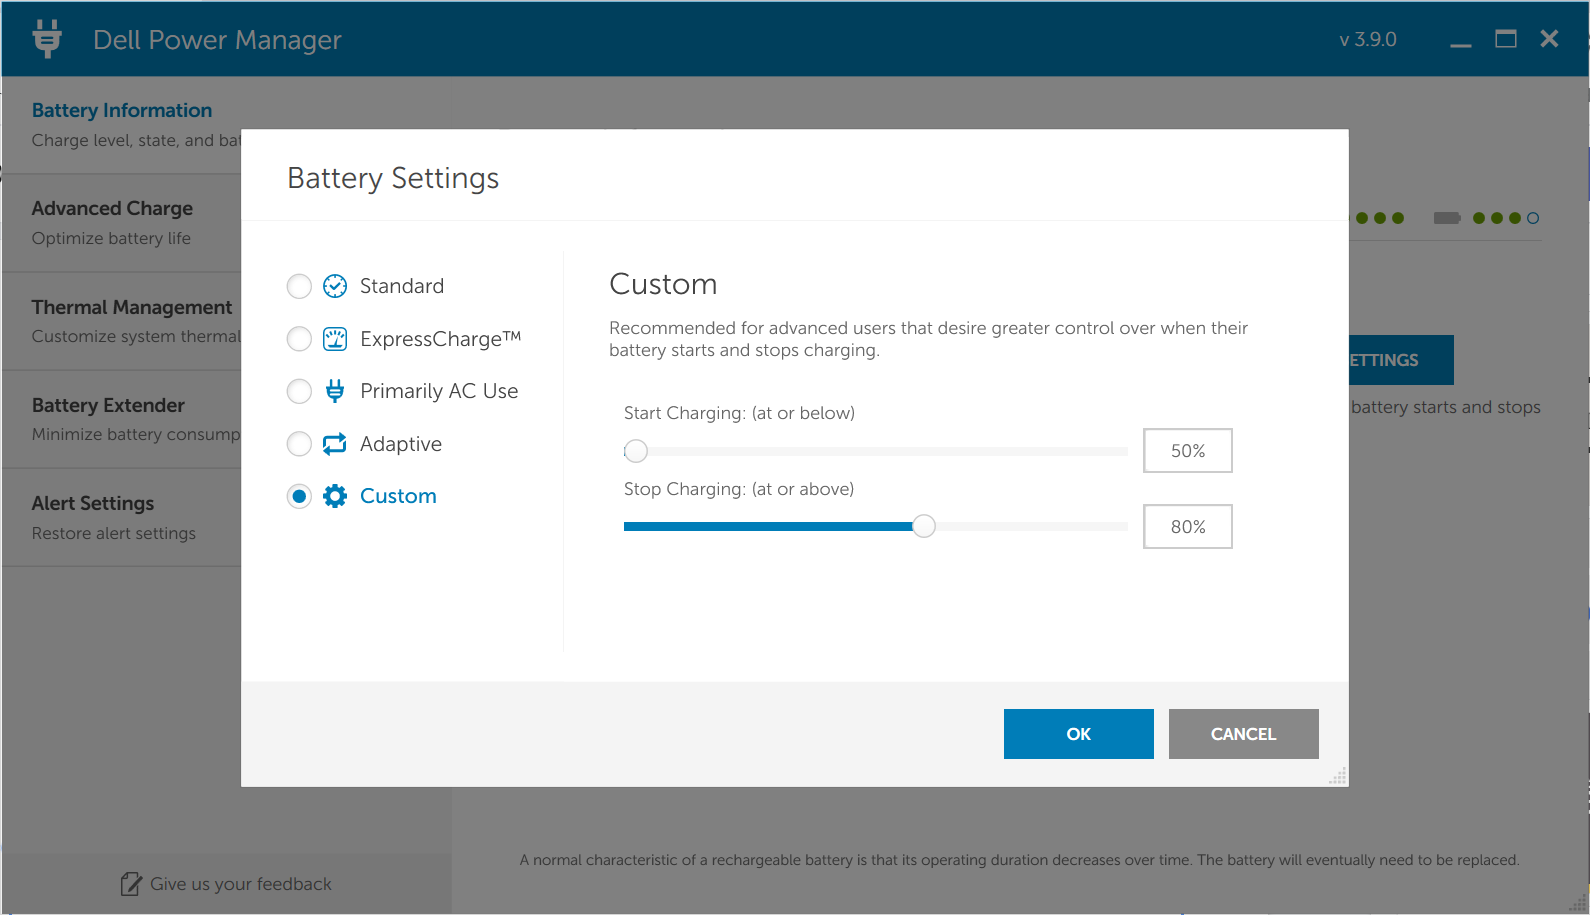
Move the Stop Charging slider to 80% (or your preferred limit).
Move the Start Charging slider to 50%. (This prevents the battery from “micro-charging” every time it drops by 1%).
Click OK to save.
This method is often better because it works even if you reinstall Windows or switch to Linux.
Restart your laptop.
As soon as the Dell logo appears, tap the F2 key repeatedly to enter the BIOS/UEFI Setup.
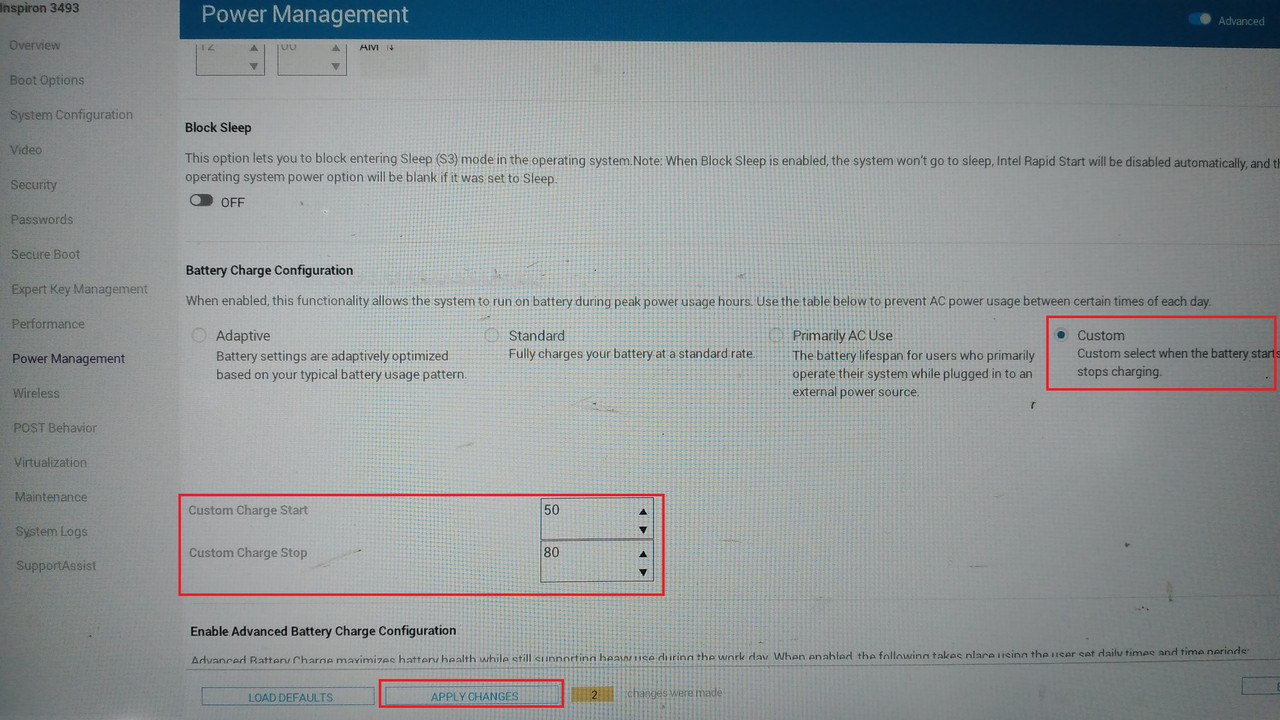
In the BIOS menu, look for a section named Power Management or Power. (On newer UEFI interfaces, it might be on the left sidebar).
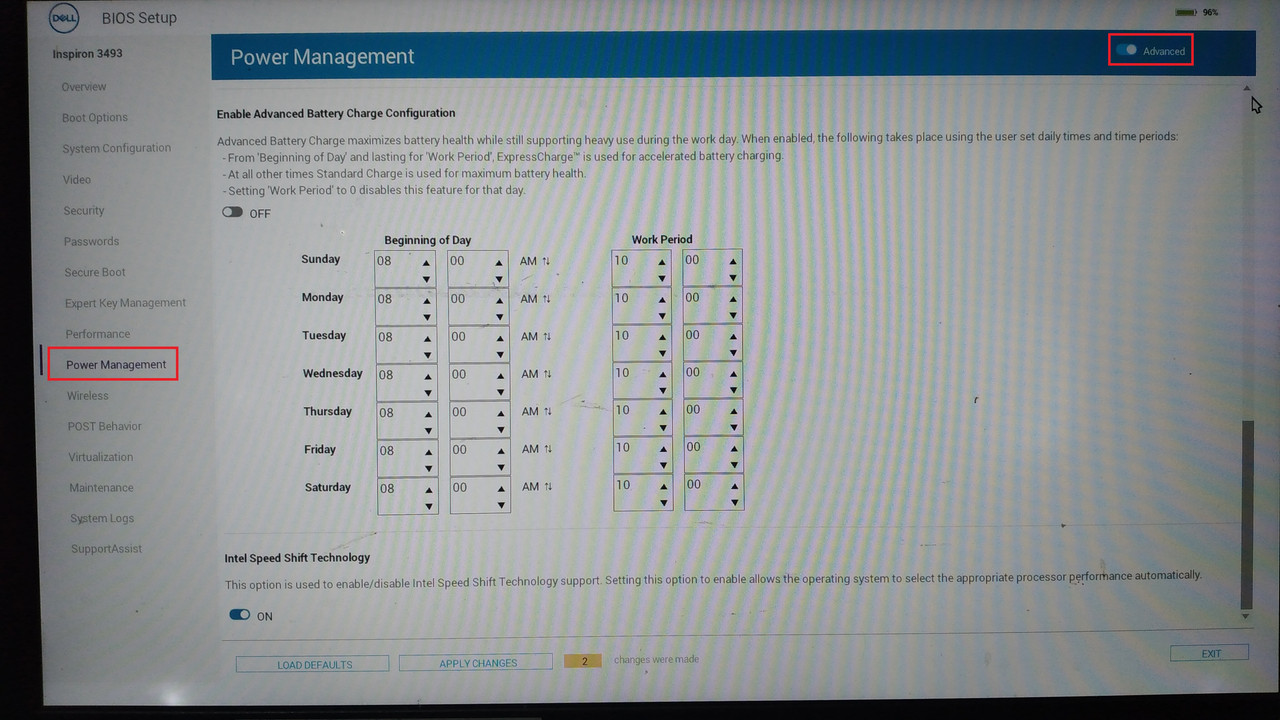
Look at Battery Charge Configuration.
Select the Custom radio button.
You will see two fields:
Custom Charge Start: Set this to 50% (or 55%).
Custom Charge Stop: Set this to 80%.