Windows 10 and 11 (as well as Windows Server 2019/2022) have a built-in OpenSSH Server that allows you to manage the machine via a command line, just like you would with a Linux server.
Unlike RDP, SSH is not usually enabled by default on Windows. You must install the OpenSSH Server on the remote machine first (you only need to do this once).
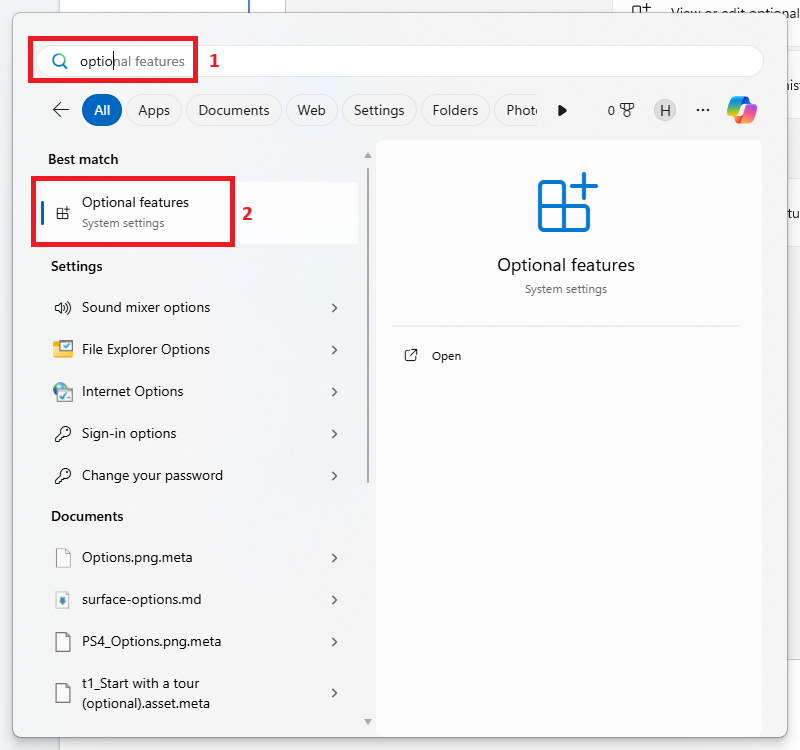
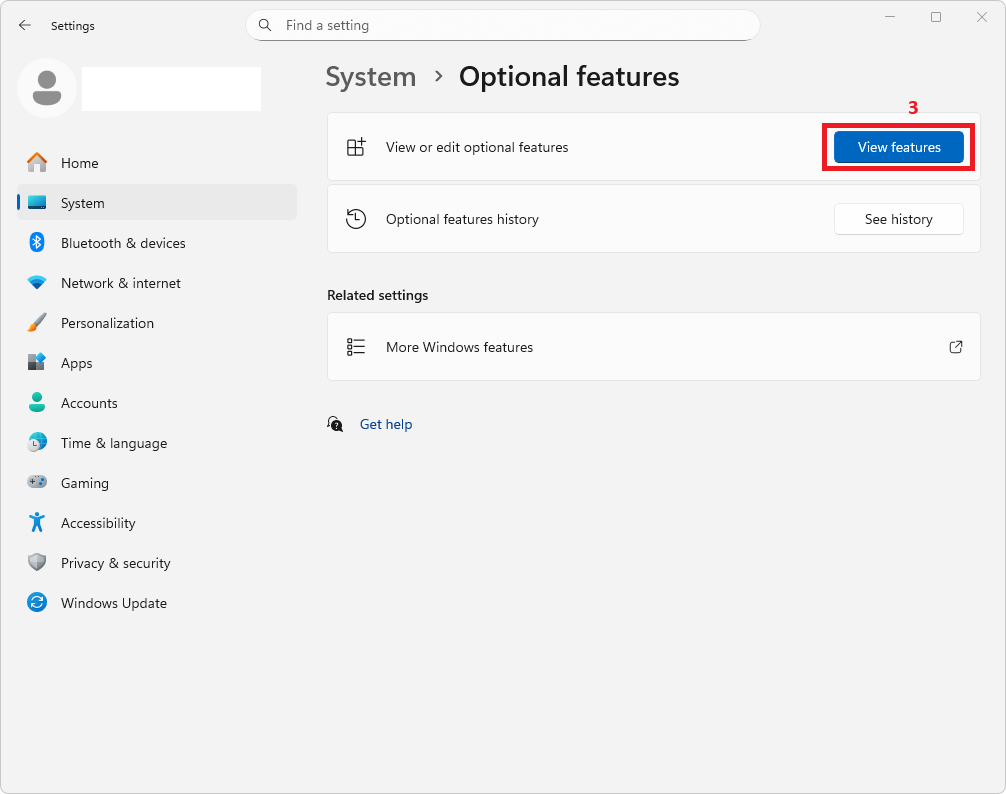
On Windows, go to Settings > System > Optional Features. Click View Features.
Click See available features, search for “OpenSSH Server” in Available features section, and click Add.
If you want to delete, click See added features, search for “OpenSSH Server” and alternatively, via PowerShell Admin:
Add-WindowsCapability -Online -Name OpenSSH.Server~~~~0.0.1.0
Open services.msc, find OpenSSH SSH Server, set it to Automatic, and Start it.
Alternatively, via PowerShell Admin:
Start-Service sshd; Set-Service -Name sshd -StartupType 'Automatic'
From your local computer (Windows, Mac, or Linux), open your terminal (CMD or PowerShell) and run:
ssh username@remote_ip_address